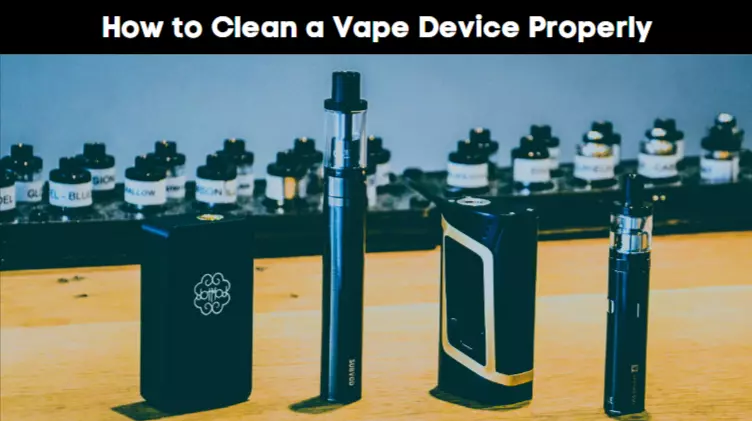
Why should you clean your vape kits anyway? There are two prime reasons for properly cleaning your vape devices regularly: germs and the lifespan of your vape kits. vaporesso luxe xr and vaporesso gen pt60 kit are new products in the market. vapours community is very exicted about these products. but you must take care of your products.
Cleaning Vape Kits
It isn’t rocket science that you need to clean the things that you put in your mouth ten times a day or more. If you do not clean them, they might become a breeding ground for bacteria and dangerous germs that lead to multiple health risks.
Frequent cleaning of your vape kits with all their parts helps mitigate and stop the transmission of bacteria and viruses.
Also, regular cleaning and maintenance sessions will make your vape last longer. If you leave your coils, batteries, screens, and cartridges waste away in past residues, you will need to replace them more often and quickly.
Cleaning all parts of your vape kits will help you save time and money.
Cleaning Vape Tanks
It is not simple enough to wipe off the exterior of your vaping devices with a sanitized or disposable cloth. Vape kits are made from tiny parts combined to make up your vaping devices. These parts are intricate and immensely susceptible to rapid dirtying.
For this post, we will be focusing on cleaning vape tanks.
Empty out Vape Juice
When you are done disassembling the vape, put the tank aside; after emptying the E-liquid, be careful, as everything depends on the timing.
The ideal time to clean your tank is when you have run through a new pod of vape juice. Refrain from cleaning the tank when using it; this way, you will end up dumping half a tank of wonderful vape juice.
Take the Vape Coil Out
Up next, remove your vape coil from the tank, and put the coil aside.
It is completely fine if you do not want to disassemble your entire vape and only remove the tank, battery, and coil. All three of these are the main elements that need cleaning.
Tip: take pictures along the way if you are taking apart your entire vape, as vaping devices are not always easy to reassemble.
Rinse and Repeat
Take your vape tank and run it through under a tap of lukewarm water. It is not advisable to shock the interior of the tank with very hot or cold temperatures.
However, try to get as much buildup as possible with a thorough rinsing.
Soaking
Leave the vape tank to soak in water for deep cleaning. You can put in the smaller parts, however, do not put the vape coil and batteries in the water.
Leave the water to do its magic for a few hours, and keep stirring the bowl in intervals to agitate the solution. You can also add a cleaning agent to the water, including dish soap, baking soda, vinegar, or a non-abrasive scrubber.
Proper Drying
Keep this step simple; just set the tank aside and let the air do its job.
Final Words – Cleaning Vapes
Treating your vape kits as something other than something disposable is always better. It is a piece of an engineering feat that a device in the size of a USB can do so much, as something as complex as vapourising a synthetic juice.
You can elongate its use and lifespan by taking good care of it and carefully cleaning it.